How to connect your ScyllaDB with Rocketadmin
This user guide outlines the procedure for establishing Rocketadmin connection to a ScyllaDB cloud database.
The instructions are general and do not contain any detailed explanations on specific ScyllaDB features or configurations. To experience the full ScyllaDB potential, please visit https://www.scylladb.com/.
ScyllaDB settings
Creating a ScyllaDB cluster
-
Sign in to your ScyllaDB account.
-
From the Dashboard create a cluster and configure it based on your specific requirements or needs.
-
Open the cluster and navigate to the General settings:
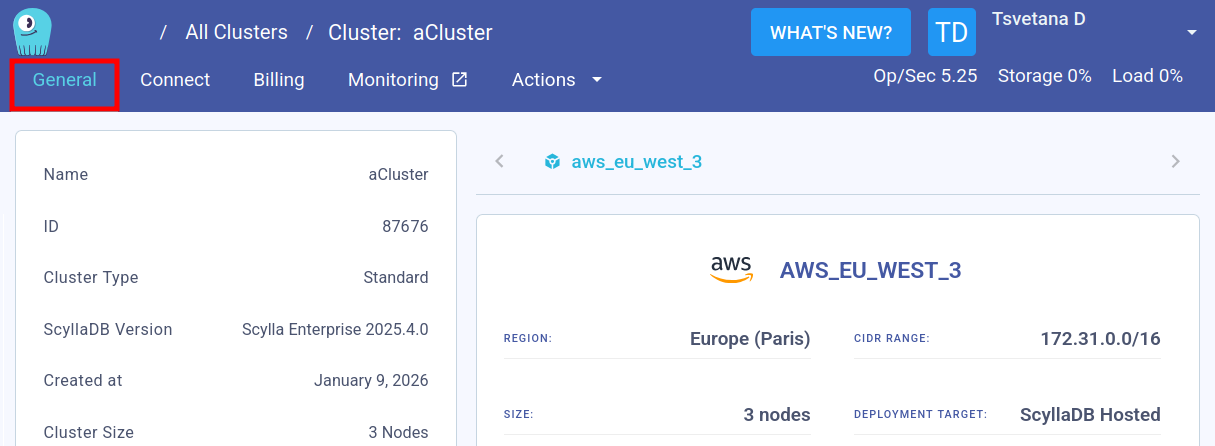
-
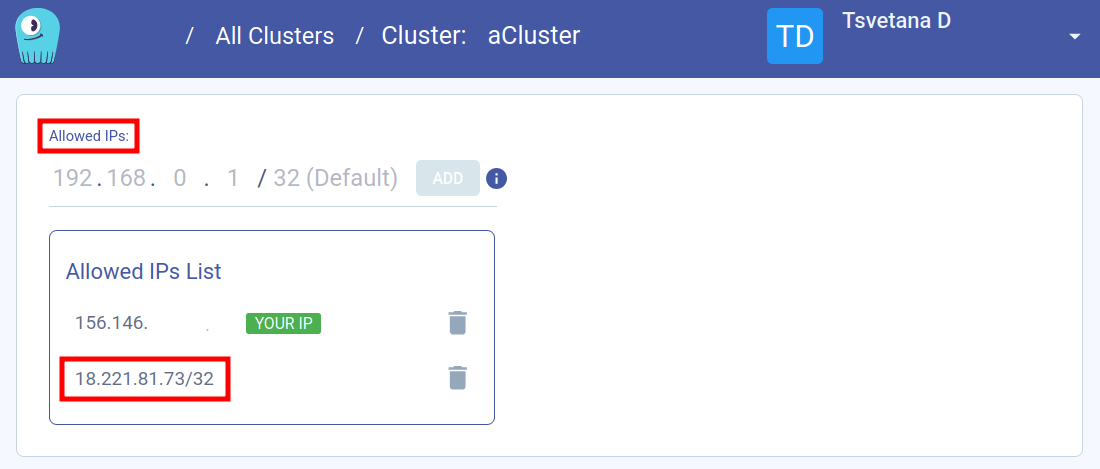
Scroll down to the Allowed IPs section and add the Rocketadmin IP address - 18.221.81.73, as trusted source, granting us access to your database:
Managing the ScyllaDB cluster
Test connection
You can connect to the created cluster using a method of your choice, for example, with the following CQL shell command:
cqlsh -u scylla -p <your-password> node-0.aws-eu-west-3.<node-number>.clusters.scylla.cloud

Create keyspace and table to populate with data
Upon successful connection to the cluster, you can create a keyspace and populate it with data:


Rocketadmin settings
The final steps of this guide include creating a Rocketadmin connection to the ScyllaDB keyspace and database.
Follow the guidelines:
-
Sign in to your Rocketadmin account.
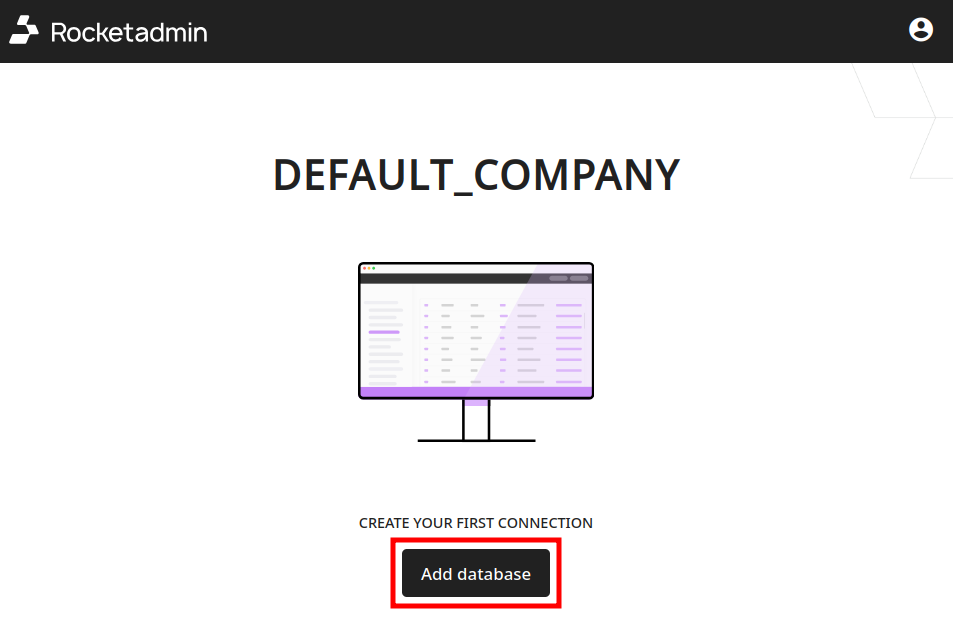
-
In the Dashboard click on Add database:
-
In the Connect a database screen:
-
enter a name for the connection
-
select Cassandra (ScyllaDB) as database type

-
-
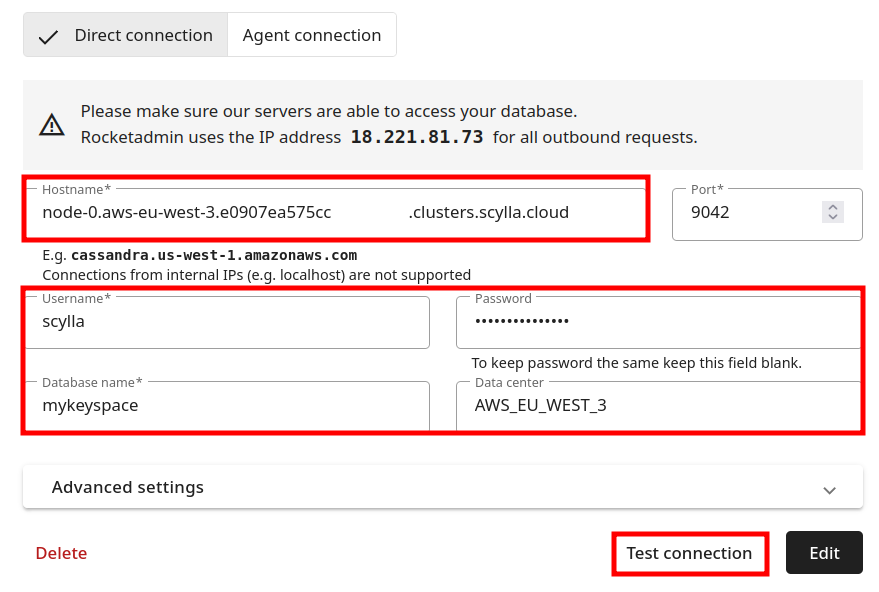
Provide the following information in the connection's details:
-
Hostname: the ScyllaDB hostname
-
Username, Password, Database name (Keyspace name) and Datacenter name
-
-
You can expand the Advanced settings and configure one or more of the following options: Master password, SSH tunnel and SSL certificate
-
Click on Test connection.
-
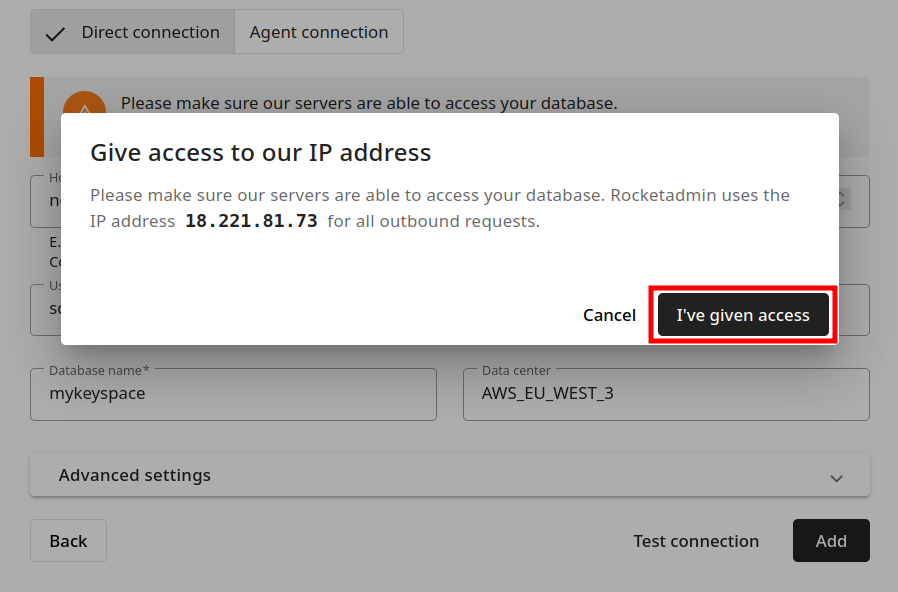
Once the connection is successful, click on Add. The following message appears (Give access to our IP address):
-
Since the Rocketadmin IP address has already been added to the list of allowed IPs, click on I've given access.
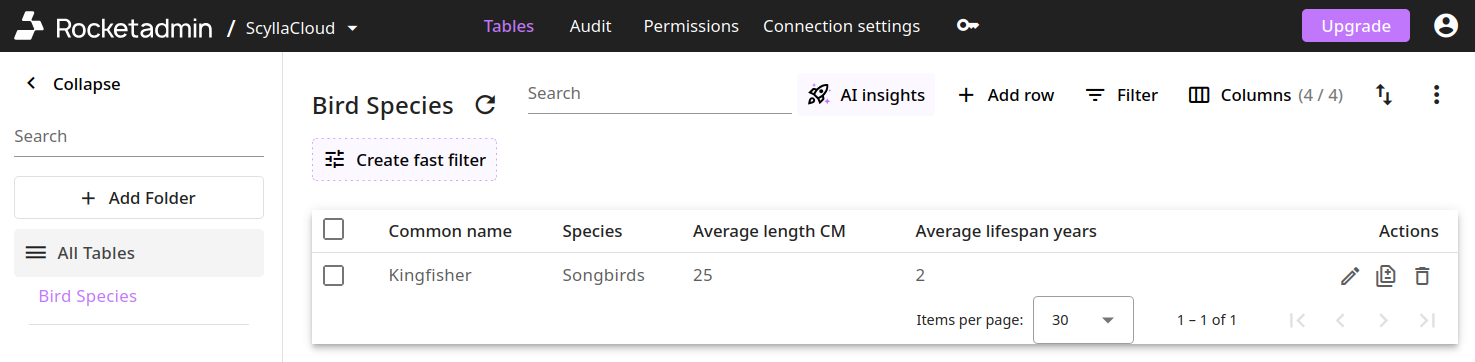
Your database and table appear in the Dashboard: